Navigation
Home
Guide
Magic
Bosses
Abilities
Blitzball
Key Items
Sphere Grid
Omega Ruins
Monster Arena
Fiend/Item List
Airship Passwords
Cloudy/Celestial Mirror
Weapon/Armor Abilities
Aeons
InfoIfrit
Ixion
Shiva
Anima
Valefor
Yojimbo
Bahamut
Magus Sisters
Characters
YunaLulu
Tidus
Rikku
Auron
Wakka
Kimahri
Legendary Weapons
NirvanaGodhand
Caladbolg
Masamune
Spirit Lance
Onion Knight
World Champion
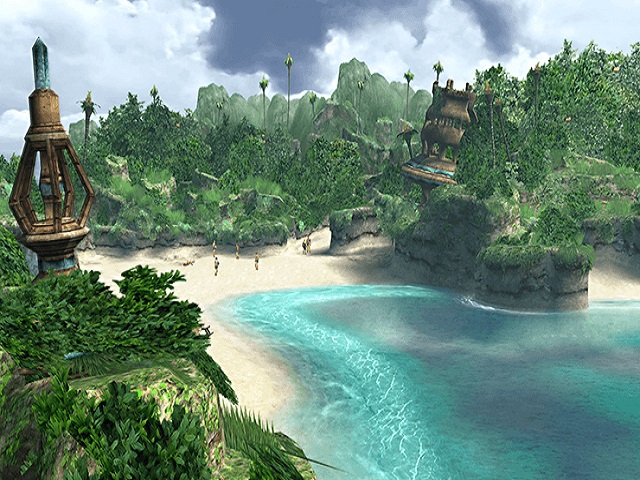
ISLE OF BESAID
Piranha, Dingo, Condor, Water Flan, Garuda, Kimahri
OBJECTIVES:
- Meet the Besaid Aurochs
- Look for underwater treasures
- Follow Wakka to the village
- Meet with the Crusaders at their lodge
- Check out Besaid Temple
- Find Wakka's house and take a nap
- Solve the mystery of the Cloister of Trials
- Witness the calling of an aeon
- Go with the party to the boat docks
KEY ITEMS:
Moon Crest, Al Bhed Primer vol. II
ITEMS:
Antidote(x4), Hi-Potion(x2), Potion(x2), Brotherhood, Seekers Ring,
Remedy, Phoenix Down(x5), 400 Gil, Rod of Wisdom, Ether, 400 Gil.
BEACH PARTY
After meeting the local Blitzball team, the Besaid Aurochs, collect the itemsscattered around the village. Also, if you talk to the team more than once, most
of them will give you an item.
The captain of the Besaid Aurochs is a jovial fellow.
"Do your best" seems to be Wakka's motto. He has vowed to
be a guardian to avenge his brother's death.
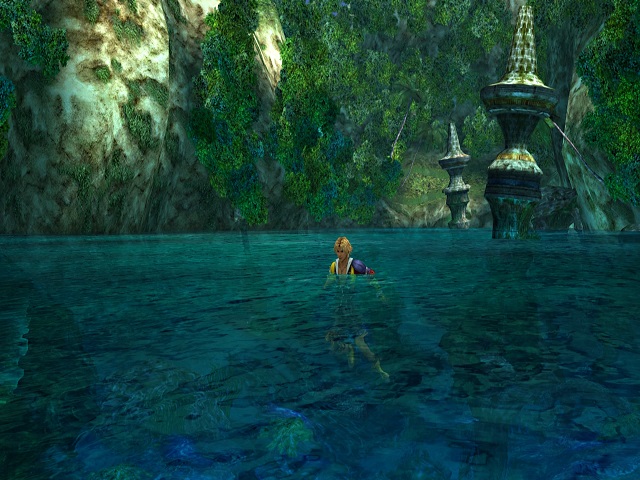
SHALLOW WATERS OF BESAID
Follow Wakka inland until you reach a high cliff over a beautiful lagoon.After Wakka shoves Tidus into the water, swim around a bit and collect some
useful items from various sunken treasure chests. You will enounter Piranhas,
so move quickly.
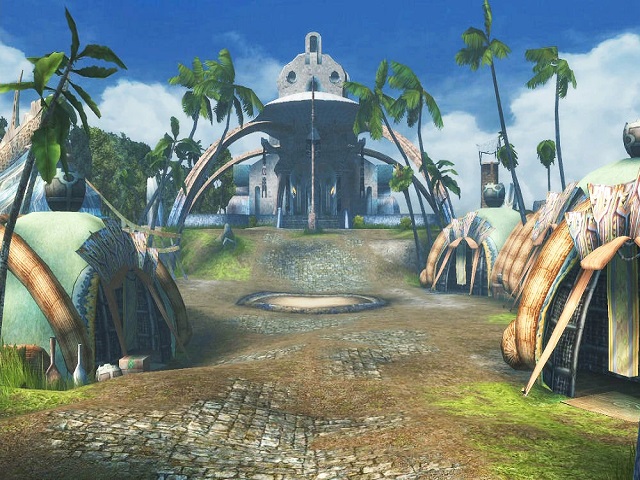
WAKKA'S VILLAGE
When the duo returns to dry land, head down the mountain from the SaveSphere toward the village. Wakka and Tidus encounter two Crusaders. After
Wakka teaches the prayer of Yevon to Tidus, explore the village for treasure
chests. Wakka is in the second tent on the right, but he's waiting for Tidus
to pay a visit to the village temple on the hill. Outside the first tent on the
left is a Phoenis Down, and inside is an item shop where you can buy
Potions, Phoenix Downs, and Antidotes.
THE CRUSADERS LODGE
When you're finished exploring, stop by the Crusaders Lodge on the leftside of the village circle. Speak to Gatta and Luzzu about the origin of the
Crusaders and their war against Sin. You can take a nap at the inn if you life,
and there's a Sphere Monitor next to the attendant.
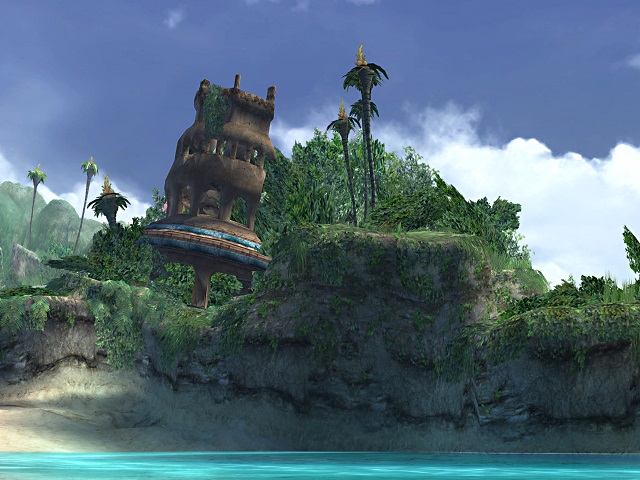
THE SUMMONER'S TEMPLE
After speaking with the Crusaders, run up the hill to the temple perched onthe hilltop. Inside, head toward the cenrtal stairs. After a lecture about the
summoners and the principles of Yevon, return to Wakka's hut and accept his
offer to take a nap.
When Tidus wakes up, return to the temple and move to Wakka's side. Tidus
eventually gets fed up and invades the inner santum. Now the brash young hero
must solve and extremely clever puzzle.
THE CLOISTER OF TRIALS
There are areas similar to this one in each temple throughout Spira. Using
magical glyphs and spheres, you must unlock the secrets of the Cloister of
Trials to enter the sacred Chamber of the Fayth. This is where summoners go
to pray for new aeons. There is always one powerful treasure hidden in these
areas. You'll need Destruction Spheres to find them.
The new summoner of Besaid Village is the young Yuna,
daughter of High Summoner Braska. She has learned the
ability to call upon the aeons, powerful supernatural
beings. Together with her guardians, she must embark
upon a pilgrimage to defeat Sin and bring an era of peace.
CALLING OF AN AEON
Follow the party out of the temple to the village circle, where Yuna summonsValefor for the first time. Later that night around the campfire, talk to Yuna.
When you're ready to continue, speak to Wakka and choose the option to sleep.
During the night, Tidus has a strange dream. Just move him toward Yuna.
Lulu is a warm-jearted soul who tries to conceal
her emotions. Although she can seem insensitive at
times, she serves as one of Yuna's loyal guardians.
BEGINNING THE PILGRIMAGE
The next morning, examine the lodge attendant's desk for the Al Bhed-Primer vol. II, and then exit the lodge to join the others. Wakka gives
Tidus the Brotherhood, a beautiful blue sword. After Yuna joins the party,
they leave the village.
As the party travels up the mountain, they will take part in a series of
tutorial battles against several different creatures. Simply follow the advice
of the other characters to learn how to use each party member's special skills
in battle.
At the top of the mountain, have Tidus pray with the others if you wish. Then
head north from the place of prayer toward an ancient structure. There is an
indecipherable message written in Al Bhed on the first column. Quite suddenly,
a monster jumps out and attacks!
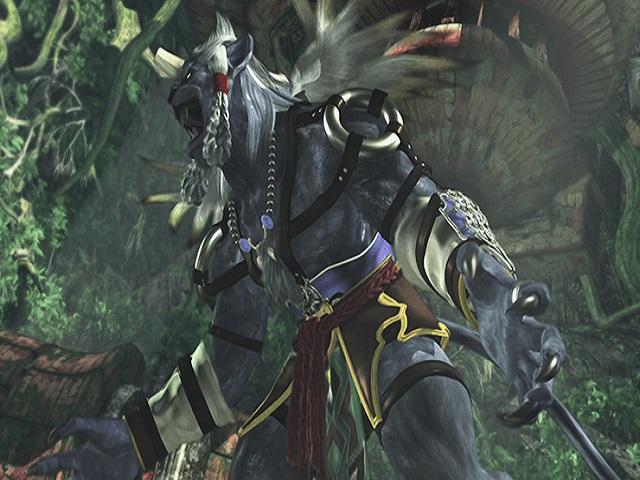
KIMAHRI
small for a Ronso. However, his quiet manner indicates a wisdom
beyond his years. The blue-furred warrior can learn fiends'
techniques by using his Lancet Ability.
DEPARTING FROM BESAID
After the battle with Kimahri, follow the mountain trail past the waterfalls.Be prepared for additional tutorial battles. When the fight ensues, you must
switch out Tidus for Yuna. Then summon Valefor and cast magic spells on the
enemy or use Sonic Wings. If pushed into Overdrive, unleash Valefor's
Energy Ray attack to quickly end the battle.
A FOND FAREWELL
Return to the beach and follow the party onto the pier. Before boarding theboat, talk to the townsfolk to receive some gifts, including an Ether, three
Phoenis Downs, a Seekers Ring, and 400 Gil. Talk to the little boy
on the plank to get a Remedy, and then board the S.S. Liki.